How to Use the Presto Electric Canner (Beginner’s Guide + Easy First Recipe)
Pressure canning can feel intimidating — especially if you’ve heard stories about rattling stovetop canners and exploded jars 😬
Good news: the Presto Electric Canner takes a lot of that stress off your plate.
If you’re brand new to pressure canning, this post will walk you through:
- What the Presto Electric Canner actually does
- How it’s different from stovetop canners
- A super easy beginner recipe (pressure-canned beans)
- Tips to avoid common mistakes
No prior canning experience required. Promise.
Why the Presto Electric Canner Is Great for Beginners
The Presto Electric Pressure Canner is designed to remove a lot of the guesswork that scares people off pressure canning.
Here’s why beginners love it:
- ✔️ Automatically reaches and maintains safe pressure
- ✔️ No adjusting heat or watching gauges
- ✔️ Built-in safety checks
- ✔️ Quieter and calmer than stovetop canners
- ✔️ Approved for pressure canning (not just pressure cooking)
If you’re the type who likes clear instructions and fewer “what if I mess this up?” moments — this canner is your friend.
What You Can Safely Pressure Can
Pressure canning is required for low-acid foods, including:
- Beans
- Meat
- Poultry
- Vegetables
- Soups (no dairy or thickening)
👉 For your first batch, beans are the best place to start:
- Cheap
- Forgiving
- Hard to overthink
- You’ll actually use them later
So that’s what we’re doing.
Jump to Recipe
Beginner Recipe: Pressure Canned Beans (No Soaking at Dinner Time!)
What You’ll Need
- Dry beans (pinto, black, navy, or chickpeas)
- Water
- Salt (optional)
- Clean canning jars, lids, and rings
- Presto Electric Canner
That’s it. No fancy ingredients. No seasoning pressure.
Step 1: Prep the Beans
- Rinse beans and remove any debris.
- Soak beans using one of these methods:
- Overnight soak (8–12 hours), or
- Quick soak: boil 2 minutes, rest 1 hour
Drain and rinse after soaking.
Step 2: Fill the Jars
- Add beans to jars:
- Pints: fill halfway
- Quarts: fill about ⅔ full
- Add hot water, leaving 1 inch headspace
- Optional: add ½ tsp salt (pints) or 1 tsp salt (quarts)
- Remove air bubbles
- Wipe rims, add lids and rings (fingertip tight)
Step 3: Load the Presto Electric Canner
- Add the recommended amount of water to the canner (per manual)
- Place jars on the rack
- Lock the lid
- Select:
- Pressure Canning
- Correct jar size
- Bean/Vegetable setting (if prompted)
The canner will handle venting, pressurizing, and timing automatically.
✨ This is where the magic happens — you don’t need to babysit it.
Step 4: Processing Time
- Pints: 75 minutes
- Quarts: 90 minutes
Once finished, the canner will cool down on its own.
Do not force release pressure.
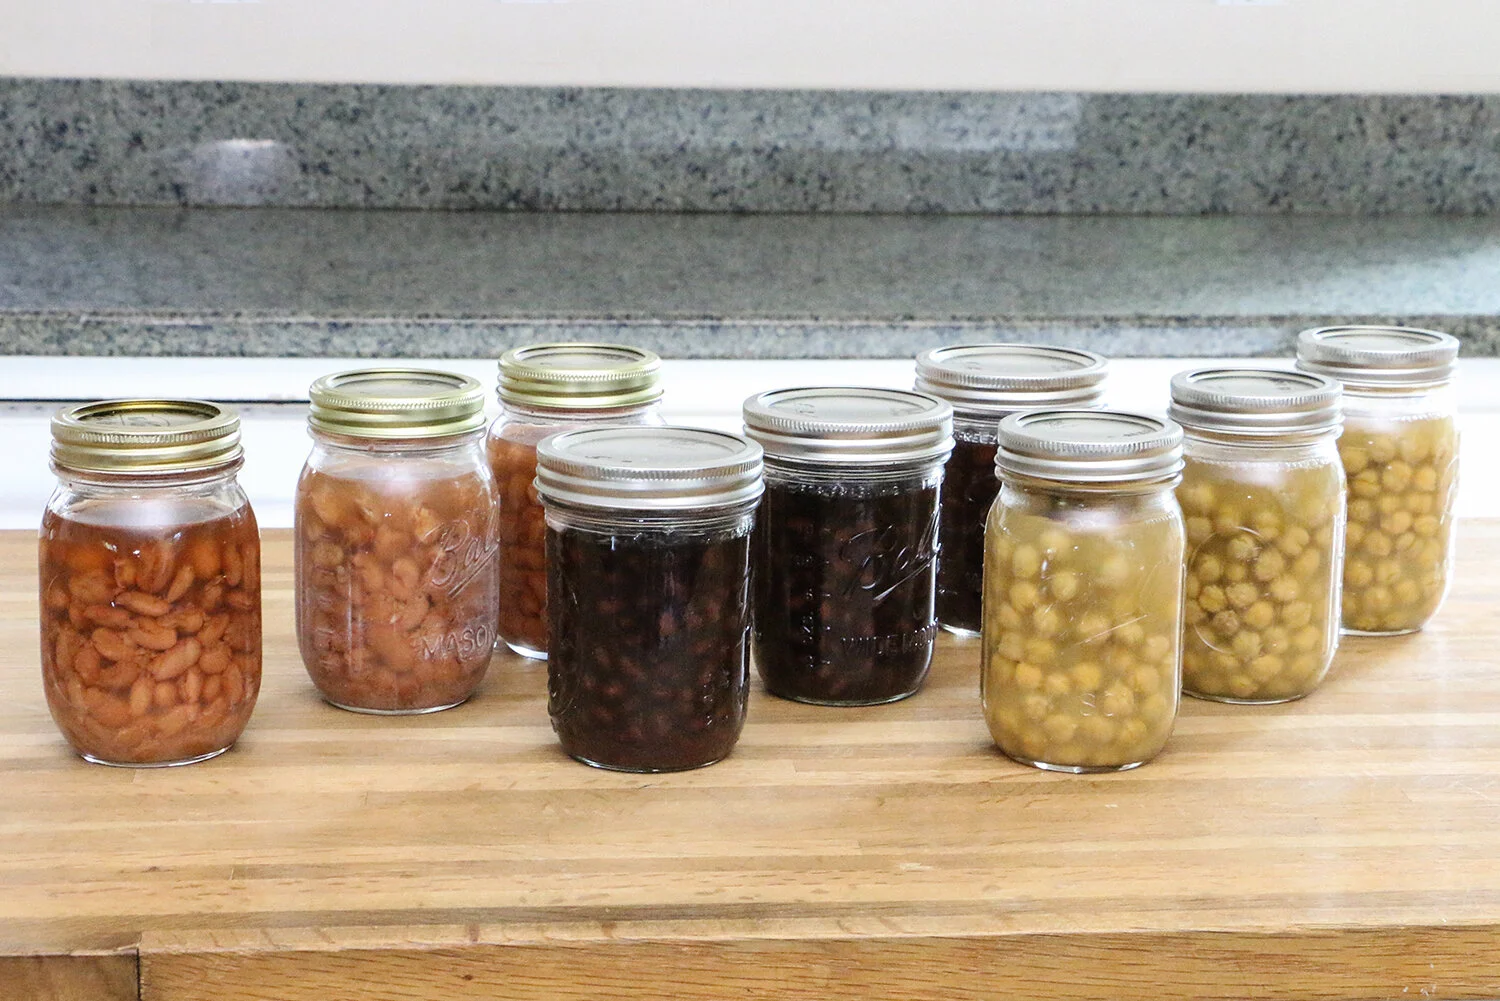
Step 5: Cool, Check, and Store
- Remove jars and let sit 12–24 hours
- Check seals (lids should not flex)
- Label and store in a cool, dark place
Congratulations — you just pressure canned food 🎉
Common Beginner Mistakes (and How to Avoid Them)
❌ Overfilling jars
✔️ Beans expand — give them room.
❌ Skipping soaking
✔️ Soaking improves texture and safety.
❌ Tightening rings too much
✔️ Fingertip tight only.
❌ Rushing the cooldown
✔️ Let the canner do its thing.
Why Home-Canned Beans Are Worth It
- No last-minute soaking
- Cheaper than store-bought
- Control the salt
- Pantry-ready for chili, soups, burritos, and lazy dinners
Once you’ve done beans, everything else feels way less scary.
Final Thoughts (From One Real Person to Another)
If pressure canning has been sitting on your “someday” list — this is your sign.
The Presto Electric Canner makes it approachable, predictable, and honestly… kind of fun.
Start simple. Build confidence. Fill your pantry one jar at a time.
You’ve got this 💪🥫
Pressure Canned Beans (Presto Electric Canner)
Ingredients
Equipment
Method
- Sort and Rinse Beans
- Rinse dry beans under cool water and remove any debris or damaged beans.
- Soak the Beans
- Choose one method:
- Overnight soak: Cover beans with water and soak 8–12 hours.
- Quick soak: Boil beans for 2 minutes, remove from heat, cover, and soak for 1 hour.
- Drain and rinse beans after soaking.
- Fill Jars
- Add soaked beans to jars:
- Pints: fill ½ full
- Quarts: fill ⅔ full
- Add optional salt.
- Fill jars with hot water, leaving 1 inch headspace.
- Remove air bubbles, wipe rims, and apply lids and rings fingertip tight.
- Prepare the Presto Electric Canner
- Add the amount of water recommended in the Presto Electric Pressure Canner manual.
- Place the canning rack in the canner and load jars according to manufacturer spacing guidelines.
- Lock the lid.
- Pressure Can Using the Presto Settings
- Select Pressure Canning mode.
- Choose the correct jar size when prompted.
- Allow the canner to automatically vent, pressurize, and process.
- Processing Times:
- Pints: 75 minutes
- Quarts: 90 minutes
- Natural Cooldown
- When the cycle completes, allow the canner to cool naturally.
- Do not force pressure release or open the lid early.
- Cool, Check Seals, and Store
- Remove jars and let cool undisturbed for 12–24 hours.
- Check seals (lids should not flex).
- Label and store in a cool, dark place.
- Salt is optional and not required for safety.
- Do not add fats, dairy, or thickeners.
- Always follow tested pressure-canning guidelines and the Presto Electric Canner manufacturer instructions.
- Adjust for altitude if required by your location.